
Listing on more channels gives your rentals more visibility meaning not only more bookings but also allows you to charge more per night. With approximately 50 million visitors to its website each month, Vrbo is an excellent choice when considering where to expand next, especially if you are listing whole homes or larger spaces.
Founded in 1995 as an online marketplace for owners to rent out their second homes, Vrbo was acquired by Homeaway in 2006 and is now a part of the Expedia Holding Group – one of the most trusted online travel brands in the world.
Requirements to list on Vrbo
Unsurprisingly, and in order to maintain its status as one of the top booking channels, Vrbo has a number of guidelines that hosts and property managers who wish to list on the site must adhere to.
One of the requirements that we feel is important to highlight, is that a listing on the site must accurately reflect the rental the guest will stay in. So be sure to keep this in mind when creating your listing.
Listing on Vrbo is a straightforward process. Below we outline the requirements to list on Vrbo, and the steps to list on the booking channel.
Before you get started
Before you get started we recommend having the following information to hand. This is all information you will need to list your property on Vrbo:
- Your bank account information (Vrbo needs to know where to send your income!)
- At least six (but preferably more) very high-quality professional digital photos of your rental
- The address of your property
- Your rental rates
With these items in order, you’re ready to list on Vrbo.
Starting the process
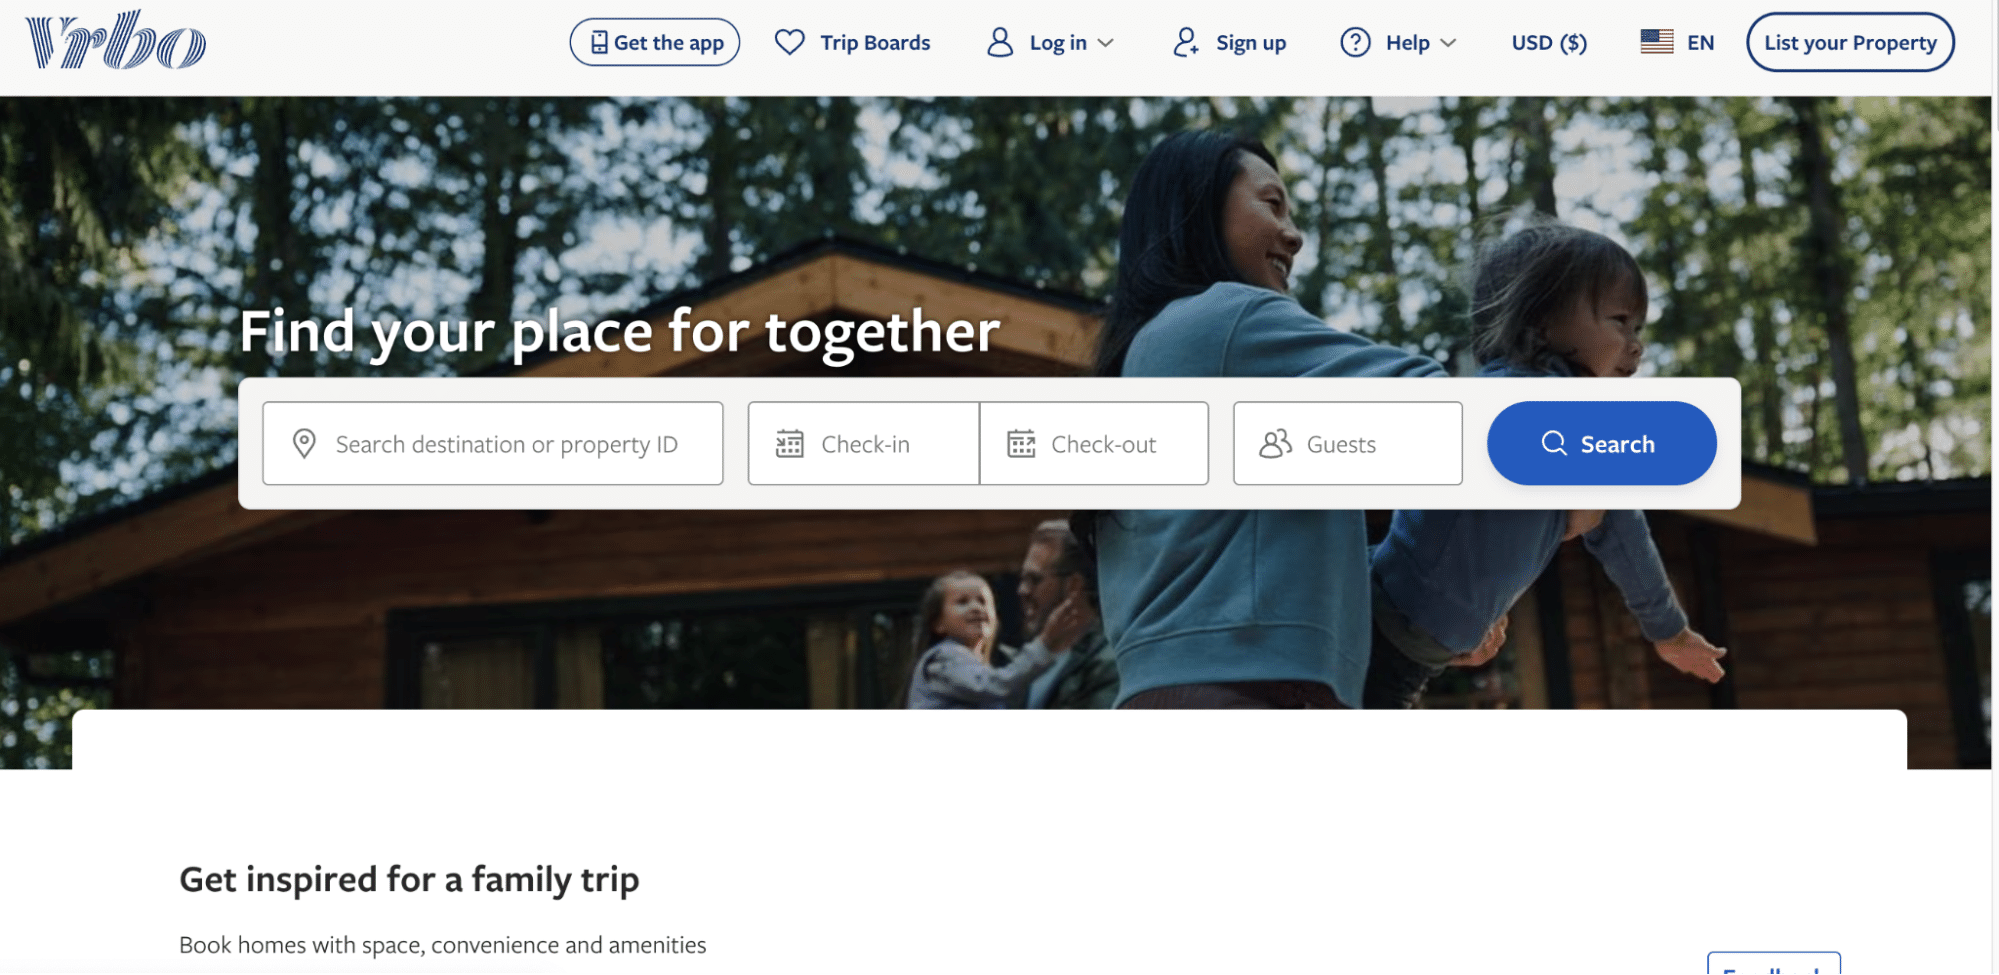
- Go to vrbo.com and click on “List your Property” in the top right-hand corner of the page.
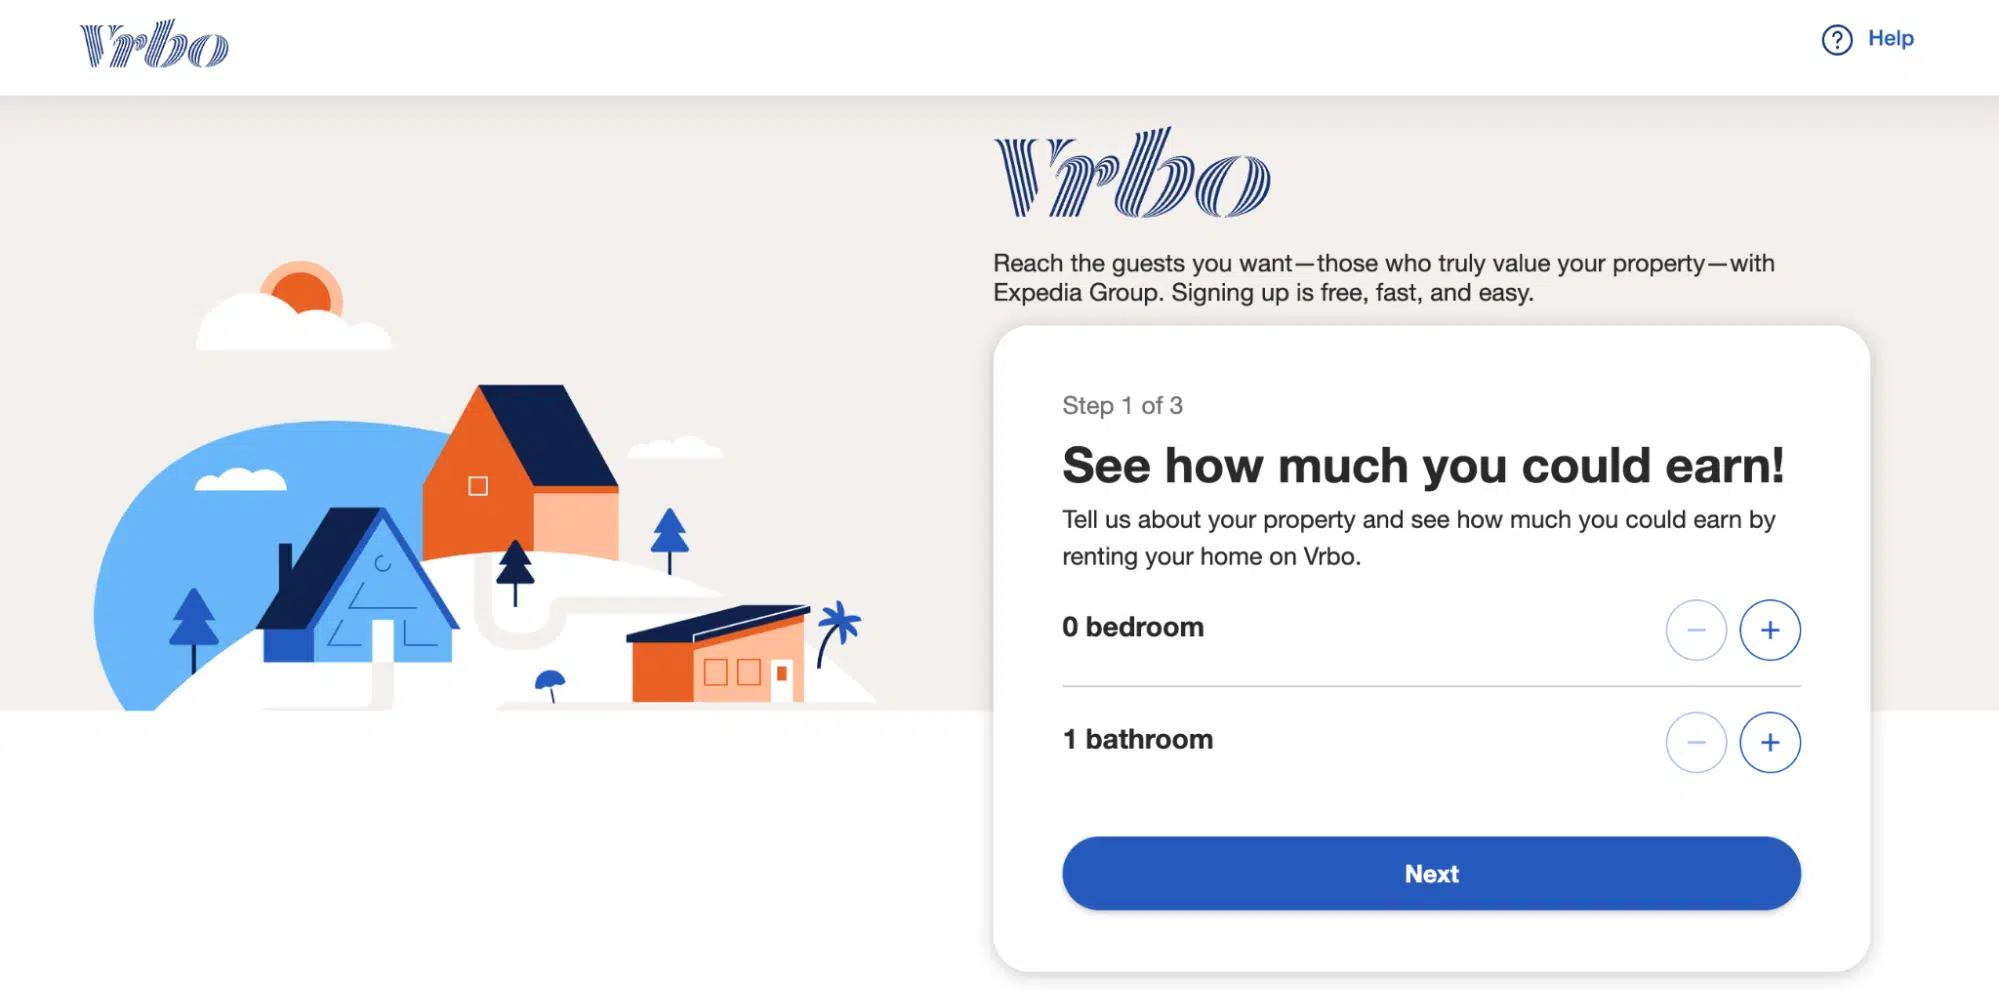
- This will open up a new window. In the box provided enter the number of bedrooms and bathrooms at your property and click next.
- Next, verify the location of your property, then click next
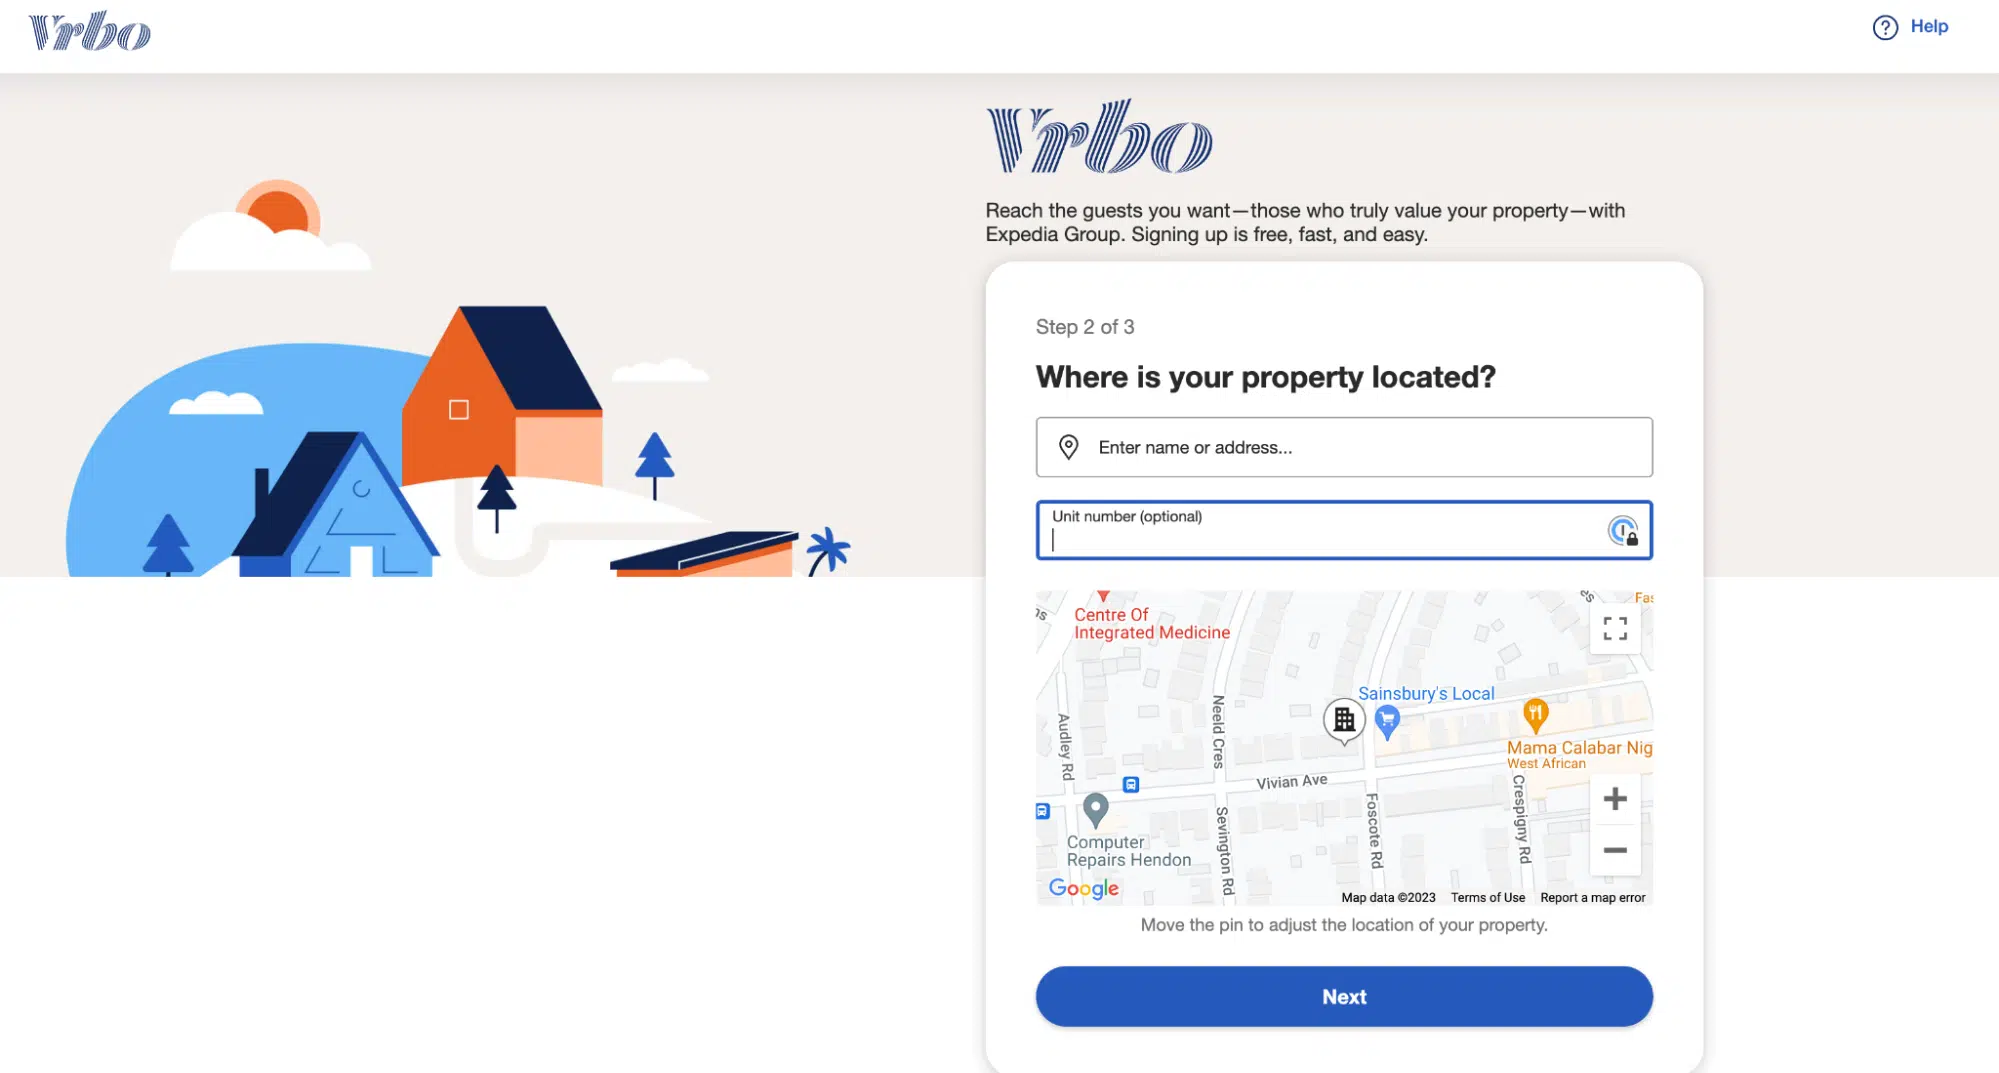
- At this point you will be prompted to either create a Vrbo account or login to your existing account

Completing the details of your Vrbo listing
Now that Vrbo has some basic information about your property and your account is set up, it’s time to fill in all the details of your property.
- Vrbo will ask you to provide information about what is available at your property, including how many beds, and the amenities.
- After this, you will be asked to create a headline and description for your property. It’s worth taking the time to make these perfect as this is what potential guests will see when your property appears on the site. But don’t worry too much as you can always edit these in the future.
- Following this, you will also be asked to complete some house rules such as maximum number of guests per night, minimum ages of guests, whether smoking is allowed or prohibited, and whether pets and children are allowed.
- Next you will be asked to upload photos of your property. It is a Vrbo requirement that you provide a minimum of six photos. In our opinion the ideal number of photos to include is 15, with the first five being the most important. Be sure to include a variety of photographs that shows off your entire property, including any outdoor areas and the surrounding neighborhood.
- After uploading your photos, you will be asked to verify your contact and payment details. Fill in all your information, and when prompted also provide your deposit bank account details.
- Finally you will be asked to choose your booking availability, nightly rate, minimum stay length, and include details of additional fees. Once that is complete you will be asked to review your booking settings and publish your listing.
An important note: Once you have submitted your booking, it is not automatically live. Vrbo will review your submission and contact you once the property is live on the site.
You’re all done
So there you have it, everything you need to know about listing on Vrbo, including the requirements to list on Vrbo and, indeed, how to go about getting your properties listed on the site.
Listing your rentals on multiple channels is easy with Guesty. Learn more.